Aria (firmware)

Installation

Proceed like a purchase (this is a Free downloadable product)

1.Save the firmware file to an SD card with a name like “Aria.bin”.

2.Load it from the Code > Flash menu.

3.The firmware will be copied as “firmware.bin”, and the system will reboot.

4.The original firmware file remains on the SD card under its own name.

This process works for EMY, Mea, Kaiwa, Sino, and Vax, allowing easy switching between firmwares.

Main Menu

Vowel
Use the main switch to change the desired mode :

•Trigger Mode – When triggered by the gate, vowels play for their entire frame duration.

•Gate Mode – Vowels play only while the gate is high and stop when low.

•Continuous Mode – Vowels loop seamlessly, with transitions affected by frame and merge duration.

Parameters

• P1 – Sample Rate

• P2 – Master Pitch

• P3 – Frame Duration

•P4 – Merge Duration (smooth transitions between vowels)

• P5 – Noise Level

• Sound – Choose Vowel to play

Code

•Code Display – Shows the current firmware version.

•Calibration – Potentiometer calibration tool.

•Flasher – Firmware loader to select and install different firmware versions.
Demo

View this post on Instagram


Kraftor Performer

Designed with you. Built around Kraftor.

Kraftor Performer is a family of custom speech instruments and MIDI controllers built around Kraftor. Each instrument is developed with you around the way you want to perform, play or interact with synthetic speech.

A project starts with a conversation about your ideas, your setup and the controls you want within reach. The resulting instrument can be a hands-on stage device, a MIDI-controlled voice instrument, an installation or a combination of these approaches.

A design shaped around your workflow

  • Voice engine: choose a compatible speech engine and the voice characteristics that suit your project.
  • Controls: decide on the buttons, knobs, bank selectors and other performance controls needed for your workflow.
  • Display: choose the size and type of display, including a larger display for easier reading during concerts.
  • Connections and interaction: plan MIDI control, USB keyboard entry, NFC phrase loading or other supported functions around the chosen hardware and firmware.
  • Enclosure, materials and colour: develop the form, finish and visual identity of your instrument.
  • An evolving design: where appropriate, the hardware can use a modular tile system inspired by Xavier Garcia at Hackin’Toys and the reusable, interchangeable design principles of OpenStructures. Controls, labels, displays and utility modules can be arranged around your workflow and adapted later for a new setup, repair or upgrade.

Built to order, quoted for your project

Price on request. The configuration, price and lead time are agreed after discussing the design and scope. The images and demonstrations show examples of what can be built. Each Kraftor Performer has its own agreed specification.

Discuss your instrument

Different instruments, designed around you

Kraftor Performer can bring the voice engine and controls together in one complete instrument, or take the form of a separate custom MIDI controller for Kraftor. A separate controller connects through 3.5 mm TRS MIDI Type B.

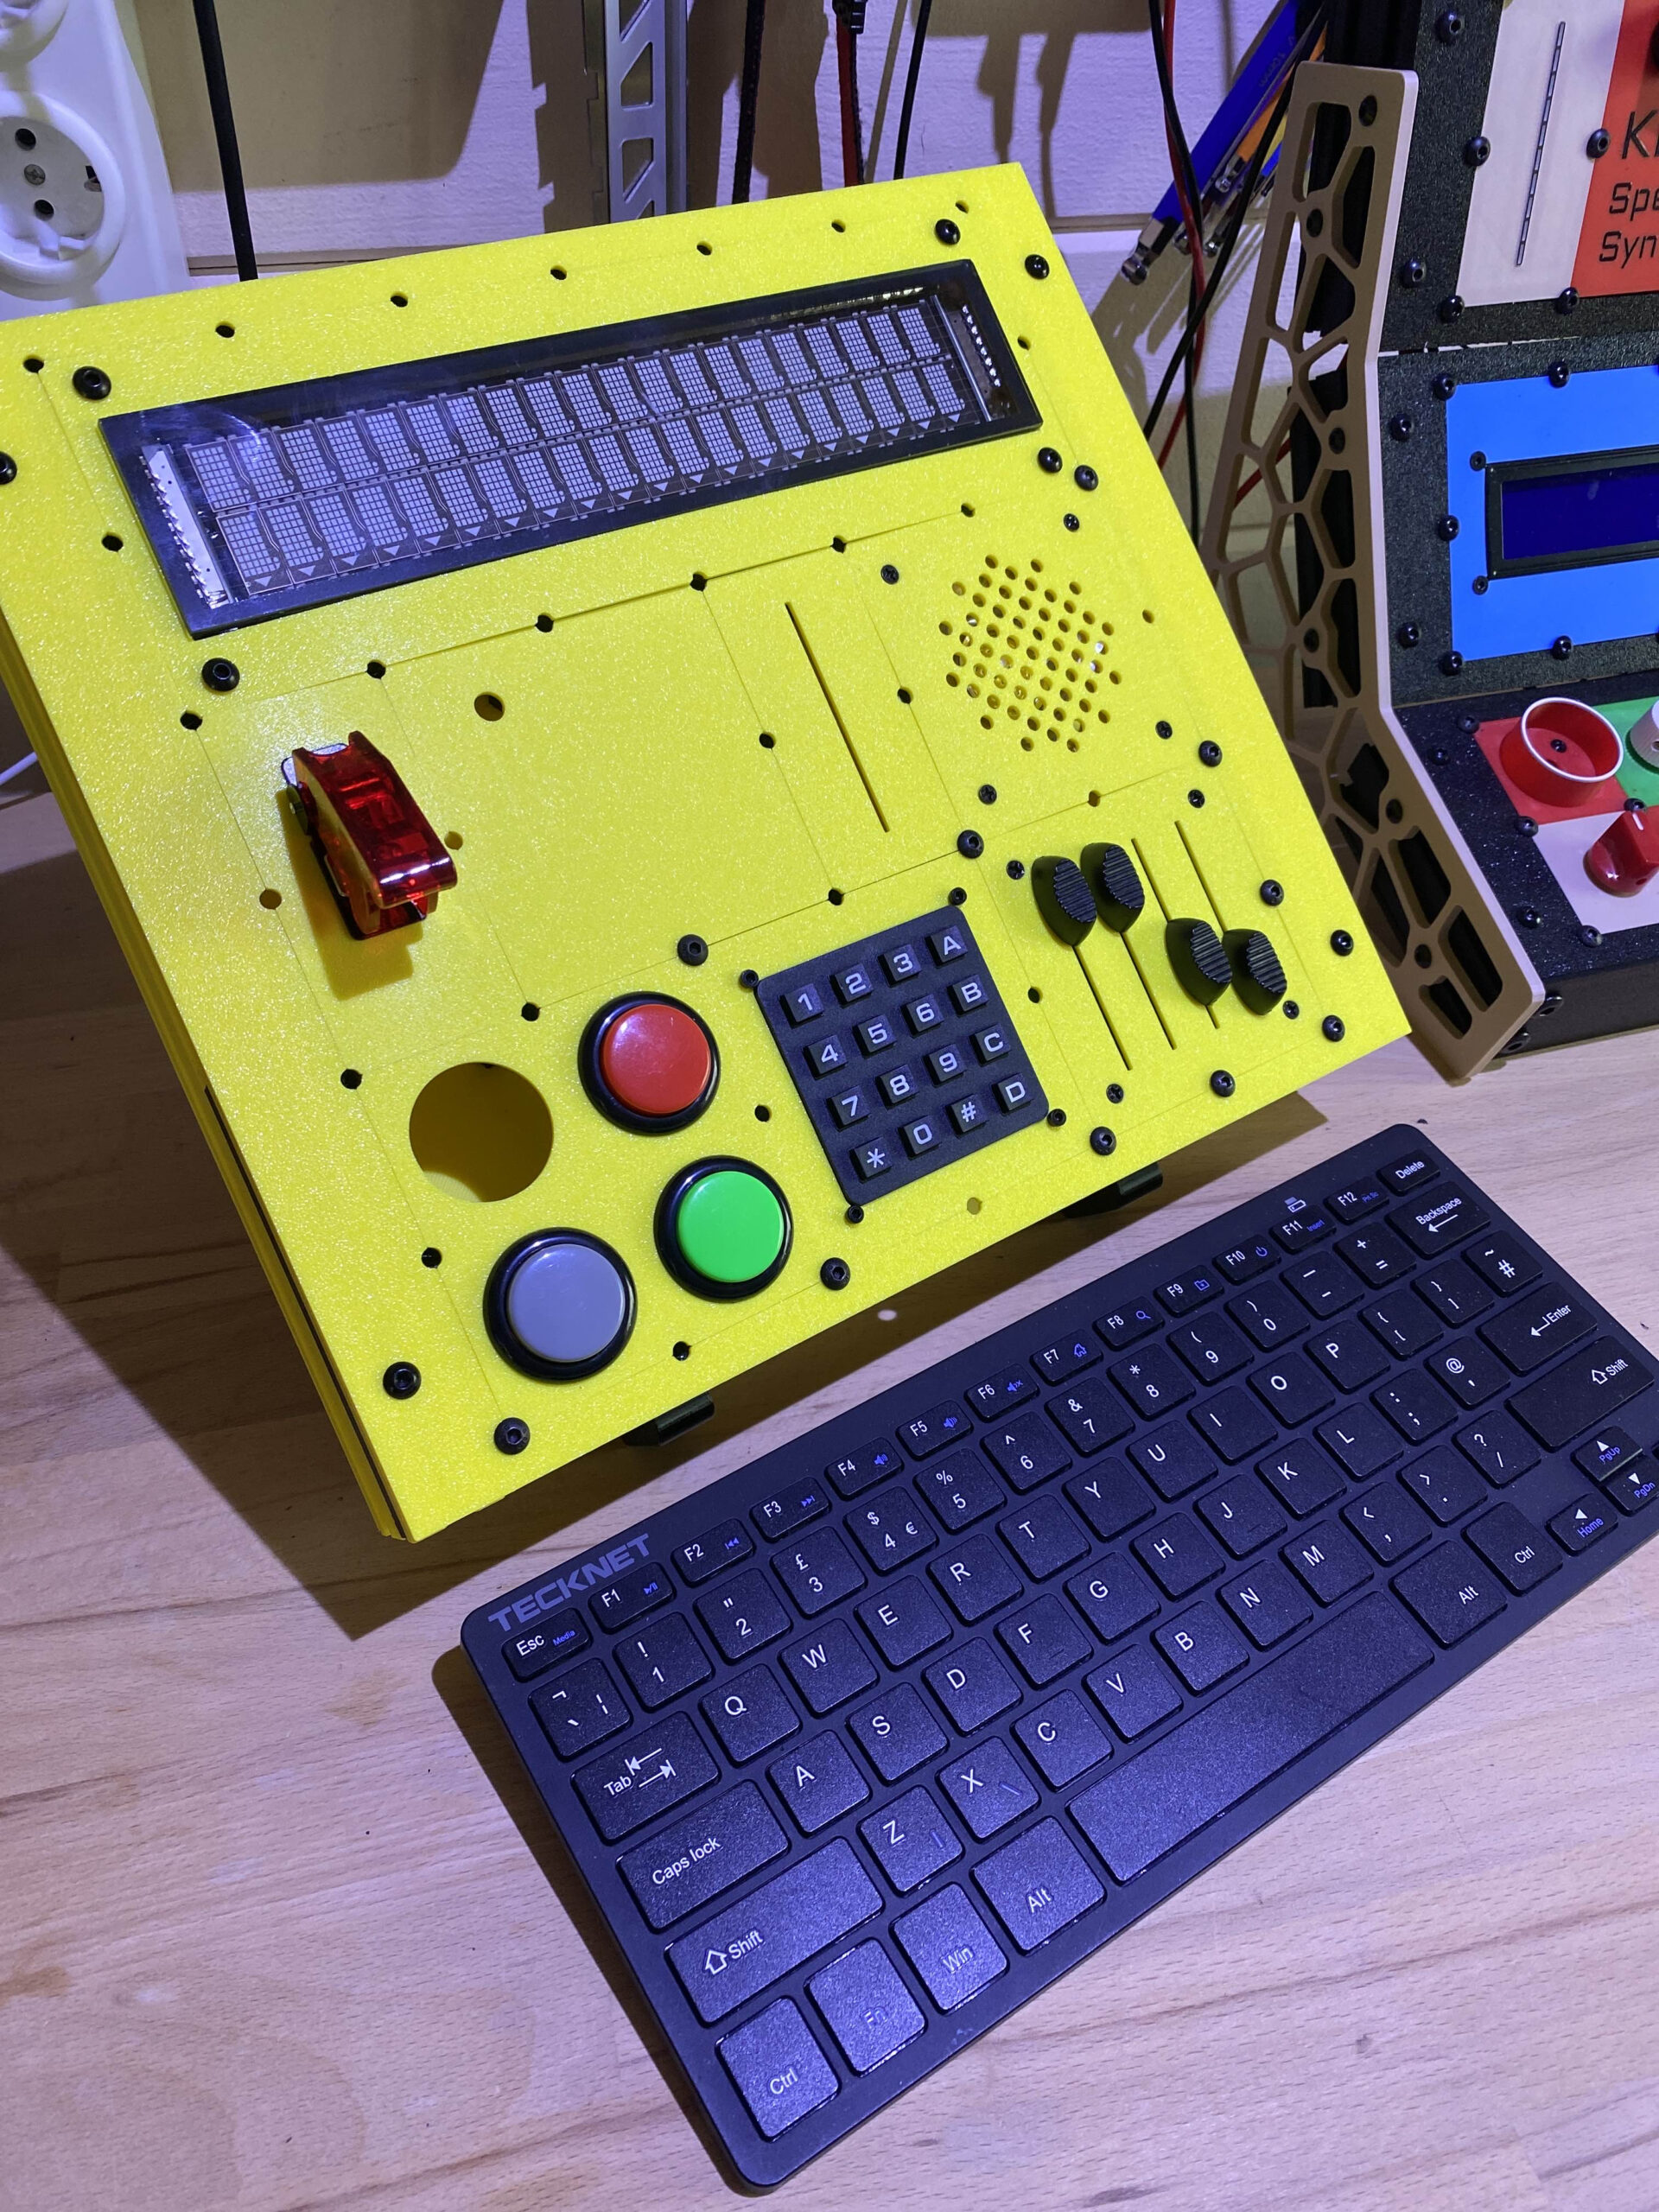
The examples below show two approaches: an integrated instrument and a modular controller with its own arrangement of buttons, keypad and knobs. A USB keyboard can be included where useful; it is an optional part of the design.

SpeakJet example: a separate controller driving Kraftor

This short demonstration shows a custom MIDI controller playing Kraftor with a SpeakJet voice board. It is one example of how the controls can be arranged around a particular way of performing.

Explore Kraftor SpeakJet MIDI

Example build: Nexus voice with NFC phrase loading

This standalone performance configuration is one example of a Kraftor Performer. The following features and controls describe this build; other versions can use a different layout and feature set.

Example performance features

  • Real-time text-to-speech: type on a connected USB keyboard and press Enter to speak, or load prewritten lines from an NFC tag and trigger them from the front panel. No computer is required for this standalone workflow.
  • Live pitch and speed control: adjust the voice while a phrase is playing. Four banks and five buttons provide 20 sentence slots. Button presses are ignored while the unit is already speaking.
  • NFC as set-list media: place a tag on the reader to load its phrases. Reading can take a few seconds. The first line is the title shown on the display; the following lines become the phrases assigned to buttons and MIDI.
  • Selectable Nexus voices: use keyboard function keys F1-F10 to choose voices such as Perfect Paul, Vader and Big Bob. Voice changes can be issued while speaking.
  • MIDI control: trigger stored sentences with MIDI notes and control pitch and speed through MIDI CC messages.

Controls on this example build

  • NFC reader: positioned to suit the enclosure and performance setup.
  • Two potentiometers: pitch and speed. At power-up, move each knob once so the device learns its position. Loading a new NFC tag does not reset pitch or speed.
  • Four-position bank selector and five tactile buttons for triggering sentences across the banks.

Start with your idea

Describe how you want to use the instrument, which controls matter to you and how it should fit into your setup. These details form the starting point for a design and quotation.

Discuss your instrument


Custom Synthetic Voice file

I will produce a WAV or LPC file of a customized sentence made by synthetic voices and do one iteration.


S.A.M (firmware)

Read texts from the micro SD card in plain English.
The sound produced by S.A.M is a robotic, monotone voice with a slightly metallic quality.

The user can adjust the Pitch, Speed, Mouth, and Throat.

Note that the code is blocking, and the potentiometer positions are read during the pauses between utterances.
(only the Rate P1 can be used in real-time)

SAM User Manual

1. Revision history

Firmware version:

0.1 2022-10-23 : first release

1.0 2026-05-27 : adding keyboard support

The code is blocking: user input is only possible during silence. Only P1 can work while speaking.

2. Main Menu

P1 Rate: real-time control. It plays nicely with an LFO signal and can almost produce a ring-modulator effect.

P2 Speed

P3 Pitch

P4 Mouth

P5 Throat

2.1. Numbers

Says random digits. This is useful for quickly setting the voice parameters.

The Gate input is not used in this mode.

2.2. SD TTS

  • Please add an empty line at the end of your text file.
  • Double-click to go back to the file selection menu.
  • Add punctuation, such as a period, at the end of your text.
  • Speech starts when the Gate signal goes high.
  • You can also start speech by pressing the function button.
Switch modes
  • Upper position: CV control of the line with P6.
  • Middle position: loops through the text file.
  • Lower position: random access to the file.

2.3. Keyboard

Connect a USB keyboard and select Keyboard from the main menu.

  • Type text directly from the USB keyboard.
  • Press Enter to speak the current sentence with the current SAM settings.
  • Press Escape to clear the text buffer.
  • Use Backspace and Delete to edit the text.
  • Use the cursor keys to move inside the text.
  • Press Tab to append the current sentence to keyboard.txt on the SD card.

The saved file uses the same simple structure as the SD TTS files: one sentence per line. If the typed sentence does not end with ., !, or ?, the firmware adds a final period when saving.

The cursor shown on the display is visual only and is not saved to the text file.

2.4. Code

2.4.1. Version

Displays the code version.

2.4.2. Calibration

Pot calibration.

2.4.3. Flasher

Firmware loader: pick a firmware file and reboot.

SAM can read .txt file
You can try this file as an example.

Installation

Proceed like a purchase (this is a Free downloadable product)

Save it on the SD card with a name like “SAM.bin,” and you can load it from the code>flash menu.
The same applies to the EMY, Mea, Kaiwa, Sino & Vax firmware so that you can switch from one to another within the main menu.

This function copies the firmware to “firmware.bin” and reboots the system.
It will delete the firmware.bin but keep the original firmware on the card with its own name.

 Demo


Custom sound


Repair and Service