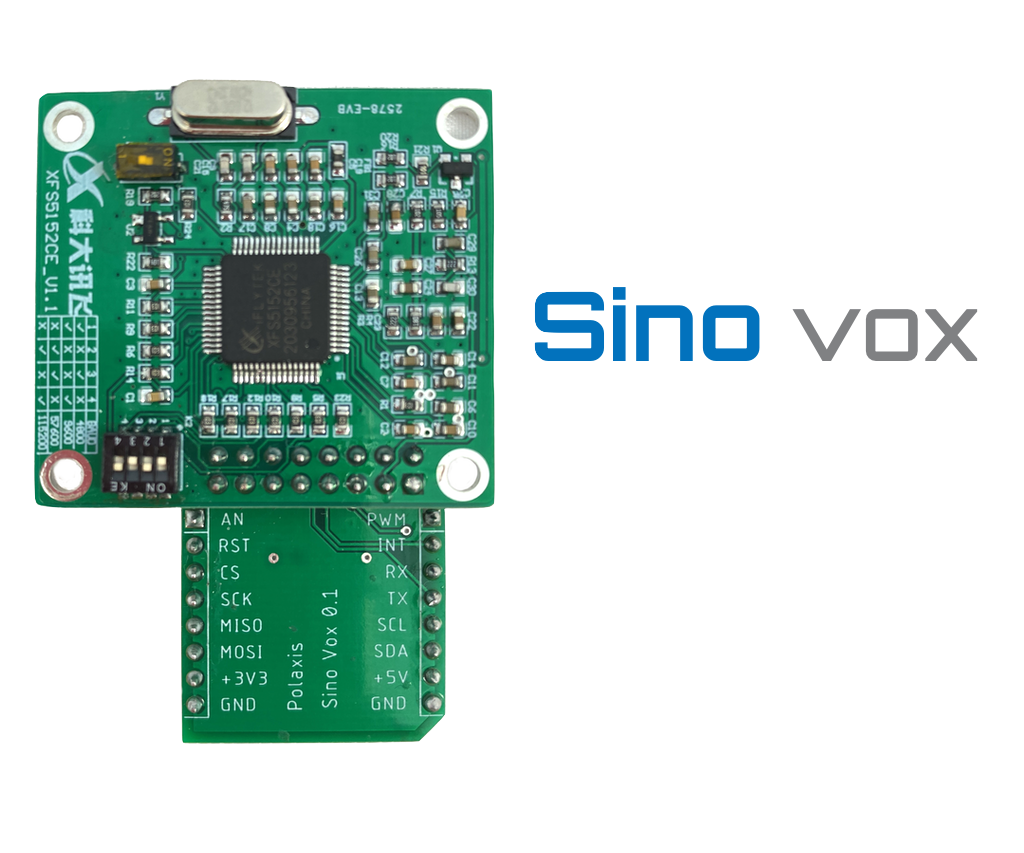
Nexus Vox

Features

  • Converts any ASCII text into speech automatically
  • Real-time control of speed, pitch, voice, reverb, volume

CV control

  • Voices (11)
  • Speed
  • Formant
  • Reverb
  • Expression
  • Pitch (in Phoneme and MIDI mode)

These controls can be applied in real time while speaking!

Inline commands

The text string can contain commands to adjust the voice on the fly

$1o $2s I am Vader and I speak slowly

Phonetic to speech

The speech can also be generated by stringing phonemes and prosody to control the pitch, speed, and volume.

k ax m p yy uw dx er 
Computer

//h aw -/d>/eh r +<\yy uw s p iy k t uw m iy dh ae t -w ey .+/
How dare you speak to me that way!

/ increase pitch. + inscrease speed > increase volume
 decrease pitch. - decrease speed < decrease volume

Phonemes mode

Allows for the easy selection of fundamental phoneme groups, such as “Vowels” and “Consonants,” and provides straightforward controls for pitch and speed adjustments.

While providing fundamental control over pitch and speed, it’s a straightforward function ideal for those just starting their journey in speech synthesis and sound exploration.

This requires just a gate signal to get started…

Latency

From the Gate signal to the start of the speech, the latency is relatively tiny: 30 ms to 80 ms.

MIDI

Full MIDI control over the voice characteristics.
Phonetic, Phoneme or Text to speech from MIDI notes.


Firmware


Text files

Icon

Phonetics 0.32 KB 34 downloads

Check this file showing how to use the phonetics commands Nexus Phoneme Symbols PhonemeExamplePhonemeExample Adas...
Login is required to access this page
Icon

Commands 0.28 KB 29 downloads

Text with embedded commands Nexus commands Use the $ symbol to add a command in your...
Login is required to access this page


    Stand alone

    You can easily connect Nexus to your preferred microcontroller (here the Raspberry Pi Pico) using a simple serial interface.

    Click the image below to learn more


    Media


    Polyglot

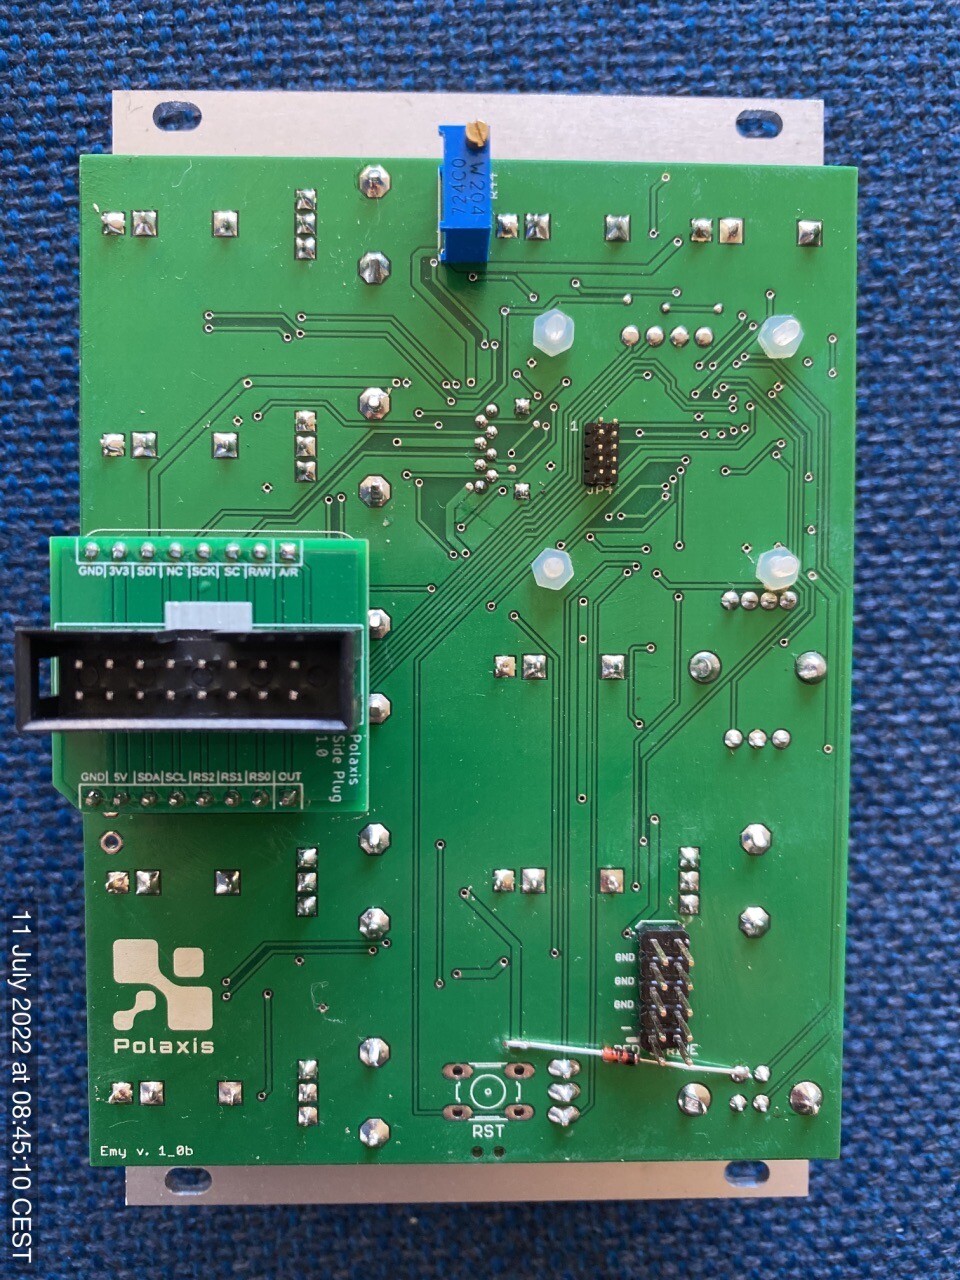
    Please make sure to orient the plug PCB correctly  on EMY with the white marking on the top:


    Polyglot Kit Assembly Procedure


    SPO vox

    This board host the vintage General Instruments SP0256-AL2 aka SPO256-AL2 Narrator. This  IC was very popular in the 1980s.

    The SPO256-AL2 produces all 59 phonemes of the English language. They can be sustained to generate signing.

    It has a very recognizable 8-bit metallic sound.

    These phonemes are individually addressable and can be chained together to create words or small sentences.

    Our board adds two absent functions on the chip: pitch or inflection control and volume control.

    The chip allows looping the last phoneme to generate interesting noise or steady MIDI notes.

    MIDI control

    • MIDI note ON (first phoneme on note 36)
    • MIDI note OFF
    • Pitch Bend (can be used while the note is ON)
    • Velocity
    • Volume CC1 (can be used while the note is ON)

    CV control 

    • Phoneme
    • Volume
    • Pitch


    Custom vocabulary

    Build your own vocabulary by stringing allophones together in the following syntax :

    (note the + marker to extend the duration of the allophone)

    music: MM YY1 UW2 +600 ZZ IH +400 KK1 
    ZERO: ZZ YR OW
    ONE: WW AX AX NN1
    technology: TT1 EH KK1 NN1 AA +100 LL AX +400 JH IY
    electronic: IH IH LL EH KK1 TT1 RR2 AA +200 NN1 IH +200 KK1


    Firmware


    Vocabulary

    135.000 words to get you started …

    Ableton MIDI effect rack

    Media


    Custom Synthetic Voice file

    I will produce a WAV or LPC file of a customized sentence made by synthetic voices and do one iteration.


    S.A.M (firmware)

    Read texts from the micro SD card in plain English.
    The sound produced by S.A.M is a robotic, monotone voice with a slightly metallic quality.

    The user can adjust the Pitch, Speed, Mouth, and Throat.

    Note that the code is blocking, and the potentiometer positions are read during the pauses between utterances.
    (only the Rate P1 can be used in real-time)

    SAM User Manual

    1. Revision history

    Firmware version:

    0.1 2022-10-23 : first release

    1.0 2026-05-27 : adding keyboard support

    The code is blocking: user input is only possible during silence. Only P1 can work while speaking.

    2. Main Menu

    P1 Rate: real-time control. It plays nicely with an LFO signal and can almost produce a ring-modulator effect.

    P2 Speed

    P3 Pitch

    P4 Mouth

    P5 Throat

    2.1. Numbers

    Says random digits. This is useful for quickly setting the voice parameters.

    The Gate input is not used in this mode.

    2.2. SD TTS

    • Please add an empty line at the end of your text file.
    • Double-click to go back to the file selection menu.
    • Add punctuation, such as a period, at the end of your text.
    • Speech starts when the Gate signal goes high.
    • You can also start speech by pressing the function button.
    Switch modes
    • Upper position: CV control of the line with P6.
    • Middle position: loops through the text file.
    • Lower position: random access to the file.

    2.3. Keyboard

    Connect a USB keyboard and select Keyboard from the main menu.

    • Type text directly from the USB keyboard.
    • Press Enter to speak the current sentence with the current SAM settings.
    • Press Escape to clear the text buffer.
    • Use Backspace and Delete to edit the text.
    • Use the cursor keys to move inside the text.
    • Press Tab to append the current sentence to keyboard.txt on the SD card.

    The saved file uses the same simple structure as the SD TTS files: one sentence per line. If the typed sentence does not end with ., !, or ?, the firmware adds a final period when saving.

    The cursor shown on the display is visual only and is not saved to the text file.

    2.4. Code

    2.4.1. Version

    Displays the code version.

    2.4.2. Calibration

    Pot calibration.

    2.4.3. Flasher

    Firmware loader: pick a firmware file and reboot.

    SAM can read .txt file
    You can try this file as an example.

    Installation

    Proceed like a purchase (this is a Free downloadable product)

    Save it on the SD card with a name like “SAM.bin,” and you can load it from the code>flash menu.
    The same applies to the EMY, Mea, Kaiwa, Sino & Vax firmware so that you can switch from one to another within the main menu.

    This function copies the firmware to “firmware.bin” and reboots the system.
    It will delete the firmware.bin but keep the original firmware on the card with its own name.

     Demo


    Talko 1 DIY

    This module is performing real-time LPC synthesis to produce intelligible voice or … not if you choose to.

    The module produces sounds in 3 major modes : Speech, Repeat and VCO.

    Talko is an Arduino-based synthesiser developed under open-source hardware and software. (license CC-BY-SA)

    Its firmware can be updated via the onboard USB port.

    Please note that building & coding this module requires minimum Arduino knowledge like installing a com port, installing libraries & uploading code.

    Technical details

    – format: Eurorack
    – width: 10hp
    – depth: 30 mm skiff friendly
    – power: + 12V: 65 mA via 10 pin Doepfer power bus
    – audio : un-filtered 5V PWM carrier at 62500 Hz
    – inputs: protected against over or under voltage by clipping from 0 to  +5V

    Assembly

    The kit contains everything you need to build your own Talko 1.2 : the panel, the PCB, the components, the knobs and the power cable.

    The kits include  a populated PCB with all SMD installed .

    The bootloader is already flashed to the ATmega338p.

    The assembly manual can be found here : https://github.com/deladriere/euro-modules/wiki/Assemble-Talko

    User Manual

    The user manual can be found here : https://www.polaxis.be/wp-content/uploads/2016/05/Talko-Manual-1_2.pdf

    Technical support

    https://github.com/deladriere/euro-modules/tree/master/Talko


    FM Radio vox

    Interface

    • Access to your favorite frequencies from the microSD card via the radio.ini file
    • Gate control: seek up to next favorite station on the gate signal
    • Rotary knob: rotate to adjust the frequency
    • Rotary knob: push to seek up to the next station or double click to load your next favorite station
    • CV frequency control for tens, units, and decimals
    • CV control for volume
    • CV control for bass boost
    • CV control for bands (Europe & USA,  Japan & Worldwide)
    • use the switch to set the display mode:
      • up: frequency, station name, RDS data
      • middle: signal intensity Vumeter, frequency
      • low: display OFF (to reduce noise)
    • Use a long press to access the main menu (to load Emy firmware, for example)

    note: the display will enter in screen saver mode after 10 minutes. Just touch anything to wake up.

    Hardware

    Connect a cable as an antenna into the jack connector. (the sleeve is used for the antenna signal).

    Media

    Firmware

    Icon

    FM Radio Firmware 87.52 KB 6479 downloads

     ...

    Source code 

    radio.ini

    Edit this file with your favorite frequencies and place it on the microSD card (keep the name as radio.ini)

    Icon

    Radio.ini 0.05 KB 4256 downloads

    Edit this file with your own favorite frequencies and place it on the microSD card...


    Kaiwa Panel

    See the assembly manual 


    SpeakJet vox

    Firmware


      Quick user instructions

      ⚠️  make sure to orient the module as shown in the image gallery

      Phoneme

      The user can use the rotary to choose a group to play: Vowels/Voiced/Voiced Stop/Voiceless/All Allophone/All Effects/DTMF

      Using the switch position to set the priority to:

      • the gate signal. The gate going high will trigger the speech and it will be stopped with the gate going low (Gate mode). try to play with the duty cycle of the gate or the clock signal.
      • optimized transitioning (Queue mode). Play with the Speed function to fill up the buffer and ear the transition work. The green led and the AUX jack will turn on and off reflecting the buffer half-full status.
      • to the allophone timing itself (Speech mode)

      Number

      There are three modes to generate numbers: CV controlled, Looping or Random.

      SD DIC

      The code will read a phonetic file and allow the user (or the code in the loop and random mode) to choose a line from that file.

      Example of the file content:

      along: \UX \LO \OH \OH \SLOW \NGO
      alpha: \AY \LE \FAST \FF \UX
      alphabet: \AY \LO \FAST \FF \FAST \AX \STRESS \SOFT \BE \EY \SLOW \TT
      already: \AW \LE \FAST \RR \EY \DE \IY
      also: \SLOW \AW \SLOW \LO \SLOW \SO \OWWW
      although: \FAST \OH \SLOW \LO \DH \SLOW \OWWW
      always: \SLOW \AW \LE \WW \EYIY \SLOW \SE

      User control

      The potentiometer P1-P5 affects the pitch, rate, bend, repeat, and volume.

      While playing with the interface, the display contextually shows the information about the changes made (rotary, switch, and potentiometers)

      A long click brings the user back to the main menu.

      A double click in the SD DIC mode brings the user to the file selection menu.

      There is a screen saver that will activate after 10 minutes. Turn the rotary to reactivate the display. 

      Midi control

      • Channel filter
      • MIDI note ON to play a phoneme
      • Velocity
      • Pitch
      • Speed (CC 5 – Portamento time)
      • Bend (CC1 -Modulation)

      SD Card

      Here are some files to get you started  …

      Phonetic files

      Some dictionnaries to help you building your own speech files


        Ableton MIDI Effect Rack

        You can also sequence the chip by sending phonemes from the piano roll 


        Media


        Sino Vox

        It generates speech from plain English or Chinese by reading files on the microSD card.

        Timing

        Real-time
        The various voice parameters are applied just before triggering the speech and are ineffective while speaking.
        They are applied to the next utterance. The best is to fiddle a bit with the knobs for the desired effects.
        While playing with the interface, the display shows the parameters changes.

        Firmware

        SD card

        Here are some text files to test the various voice options (including text in Chinese Pinyin)

        MIDI

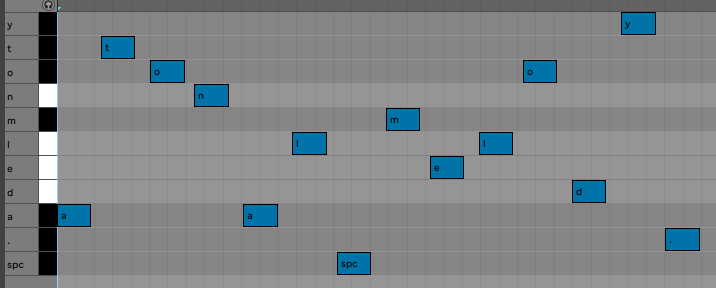
        You can use a midi sequencer to store letters as MIDI notes. 

        (C#6 is letter a) The speech starts when Sinovox receives the “.” character (MIDI note A#1). The space character is the MIDI note G#0

        Pitch bend can be used to set the pitch from 0-10.

        The MIDI clock is present on the Busy jack.

        You can use a custom MIDI track in Ableton live to ease the process of “typing” text.

        Ableton MIDI rack

        Media


        Voir cette publication sur Instagram


        Une publication partagée par Jean-Luc Deladrière (@polaxis)


        Voir cette publication sur Instagram


        Une publication partagée par Jean-Luc Deladrière (@polaxis)


        Voir cette publication sur Instagram


        Une publication partagée par Jean-Luc Deladrière (@polaxis)


        Voir cette publication sur Instagram


        Une publication partagée par Jean-Luc Deladrière (@polaxis)

        Jean-Luc Deladrière · Sino Vox


        Terminal patch


        Terminal Gig Bag